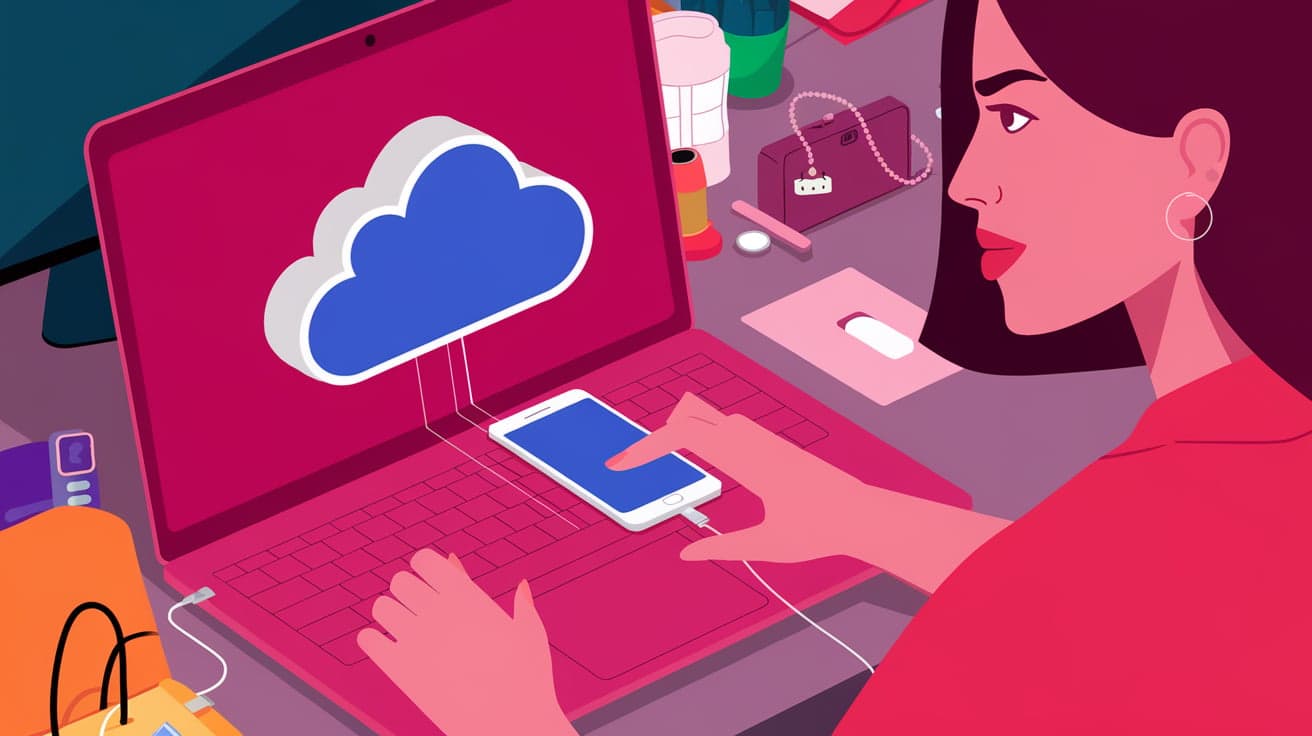
How to Set Up a Private Cloud for iPhone Backup
Backing up your iPhone is essential to keep your data safe, but relying on third-party services like iCloud may not feel secure to everyone. This is where setting up a private cloud for your iPhone backups comes in handy. A private cloud gives you full control over your data, ensures privacy, and can even save you money in the long run. If you’re looking to create a private cloud for your iPhone, this guide will walk you through the process step by step.
Let’s get in and explore how to set up your own secure and convenient private cloud for iPhone backups.
Why Set Up a Private Cloud for iPhone Backups?
A private cloud is essentially your personal storage system that operates like iCloud but is hosted on your own hardware. Here’s why it’s worth considering:
Complete Privacy: Your data stays within your control without being stored on third-party servers.
Cost Savings: Avoid monthly subscription fees for additional iCloud storage.
Flexible Storage: Expand your storage as needed by upgrading your hardware.
Convenience: Access your backups anytime, even without an internet connection if your cloud is local.
Now, let’s see how you can set up one.
1. Choose Your Private Cloud Solution
The first step is to decide which private cloud solution works best for you. There are two main options: using a Network Attached Storage (NAS) device or repurposing an old computer.
Option 1: NAS Devices
A NAS device is a specialized hardware solution designed for personal cloud storage. Brands like Synology and QNAP are popular choices.
Advantages:
Easy setup and maintenance.
Built-in apps for iPhone backups.
Disadvantages:
- Initial hardware cost can be high.
Option 2: Repurpose an Old Computer
If you have an unused computer, you can turn it into a private cloud using software like Nextcloud or ownCloud.
Advantages:
Budget-friendly.
Customizable features.
Disadvantages:
- Requires technical know-how and setup time.
Choose the option that best fits your needs and budget.
2. Set Up the Private Cloud Server
Once you’ve selected your hardware, it’s time to set up the server. This process will vary depending on whether you’re using a NAS device or an old computer.
For NAS Devices:
Unbox and Connect:
- Connect the NAS to your home network using an Ethernet cable.
Install the NAS Software:
- Follow the manufacturer’s instructions to install their cloud management software.
Create User Accounts:
- Set up a user account for yourself to access the private cloud.
Enable Cloud Backup:
- Install the cloud app (like Synology Drive) to manage iPhone backups.
For an Old Computer:
Install Cloud Software:
Download and install software like Nextcloud or ownCloud.
Both platforms offer detailed installation guides.
Configure Network Access:
- Ensure your computer is accessible on your home network.
Set Storage Paths:
- Choose where your backups will be stored on the computer.
Create User Accounts:
- Set up an account to manage your cloud.
This step transforms your hardware into a functional private cloud.
3. Connect Your iPhone to the Private Cloud
With your private cloud ready, the next step is connecting your iPhone for backups.
Using Third-Party Apps:
You’ll need a file management app like FileBrowser or DS file to sync your iPhone with the private cloud.
Steps:
Download the app from the App Store.
Connect the app to your private cloud using your server’s IP address.
Log in with your cloud account credentials.
Configure the app to back up specific files, like photos or documents.
These apps make it easy to access and manage your cloud storage from your iPhone.
4. Set Up Automatic Backups
To ensure your iPhone is regularly backed up, enable automatic backups.
How to Enable Auto-Backups:
Open the Backup App:
- Use the app linked to your private cloud (e.g., DS file for Synology NAS).
Select Files to Back Up:
- Choose categories like photos, videos, and documents.
Schedule Backups:
- Set up a daily or weekly schedule for automatic backups.
Ensure Wi-Fi Connection:
- Connect your iPhone to your home Wi-Fi network for seamless backups.
Automatic backups give you peace of mind knowing your data is always safe.
5. Test Your Private Cloud Backup
Before relying on your private cloud, it’s a good idea to test the backup process.
How to Test:
Initiate a Backup:
- Manually back up your iPhone using the cloud app.
Verify the Files:
- Access your private cloud from another device to confirm the files are stored properly.
Restore a Backup:
- Try restoring a test file to ensure the process works smoothly.
Testing ensures everything is functioning as expected.
6. Maintain Your Private Cloud
Once your private cloud is set up, regular maintenance is key to keeping it running smoothly.
Tips for Maintenance:
Monitor Storage:
- Check available storage space and upgrade hardware if needed.
Update Software:
- Keep your cloud management software up to date for security and performance.
Secure Your Cloud:
- Use strong passwords and enable two-factor authentication if available.
Backup the Backup:
- Periodically back up your private cloud to an external drive for extra safety.
A little effort in maintenance goes a long way in ensuring reliability.
Conclusion
Setting up a private cloud for your iPhone backups is a great way to gain control over your data while enjoying flexibility and cost savings. Whether you choose a NAS device or repurpose an old computer, the process is straightforward and offers long-term benefits. By connecting your iPhone to your private cloud and enabling automatic backups, you can ensure your data is always safe and accessible.
With this setup, you no longer have to worry about subscription fees or privacy concerns. You’re in charge of your backups, and that’s the ultimate peace of mind.
FAQs
Can I use a private cloud instead of iCloud for iPhone backups?
Yes, you can use a private cloud to back up your iPhone. While it doesn’t replace full iCloud backups, it’s an excellent alternative for photos, videos, and files.
Is setting up a private cloud expensive?
It depends on your setup. Using a NAS device can be costly, but repurposing an old computer is a budget-friendly option.
Do I need technical skills to set up a private cloud?
Basic technical knowledge is helpful but not required. NAS devices offer user-friendly interfaces, while platforms like Nextcloud provide detailed setup guides.
Can I access my private cloud remotely?
Yes, by enabling remote access features, you can access your private cloud from anywhere. Ensure your cloud is secure with strong passwords and encryption.
How much storage do I need for my private cloud?
The amount of storage depends on your iPhone’s data. A NAS device with 2–4TB of storage is a good starting point for most users.
Also read -