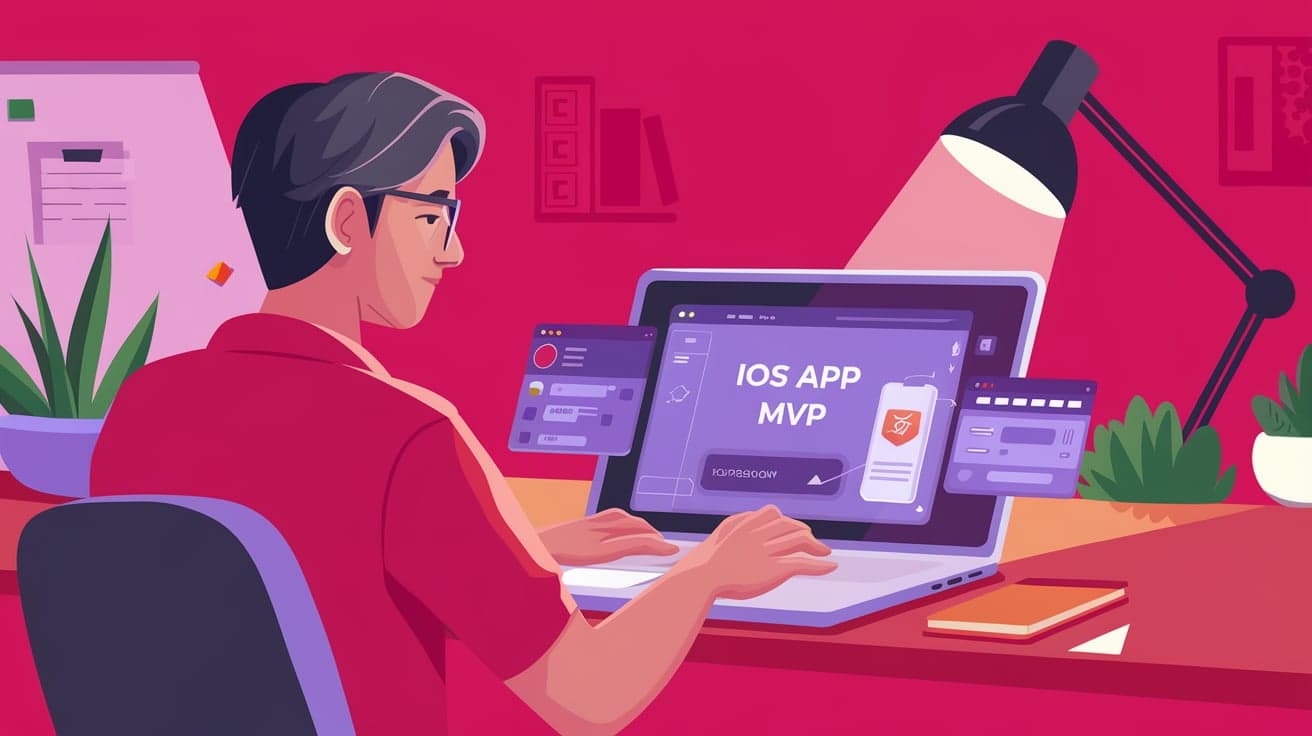
How to Launch an iOS App MVP With No-Code
Bringing an iOS app idea to life can feel overwhelming, especially if you’re not a developer. The good news is, you don’t need to learn coding or spend a fortune hiring developers to launch your first app. By leveraging no-code platforms, you can quickly create a Minimum Viable Product (MVP) and test it with real users. This allows you to validate your idea before investing in full-scale development.
In this guide, I’ll walk you through how to build and launch an iOS app MVP using no-code tools, all while keeping things simple and cost-effective.
What Is an iOS App MVP?
An iOS app MVP (Minimum Viable Product) is a basic version of your app that focuses only on its core features. Think of it as a prototype that lets you test your idea with users to see if it solves their problem. The goal isn’t perfection—it’s to learn and improve based on feedback.
Why No-Code for MVP Development?
Using no-code tools for your mobile app MVP offers:
Speed: Build and launch your app in days instead of months.
Cost Savings: No need to hire developers or build everything from scratch.
Flexibility: Make changes to your app easily as you gather feedback.
Accessibility: No coding skills required—anyone can use no-code platforms.
Steps to Launch an iOS App MVP With No-Code
Here’s a step-by-step guide to building and launching your iOS app MVP using no-code platforms.
1. Define Your App Idea and Goals
Before you start building, get crystal clear on what your app will do. Ask yourself:
What problem does my app solve?
Who is my target audience?
What are the core features my MVP needs?
For example, if you’re building a food delivery app, your MVP might include features like restaurant listings, order placement, and basic tracking. Fancy features like reward points or detailed analytics can wait for later versions.
2. Choose the Right No-Code Platform
The success of your iOS app MVP depends largely on the no-code platform you use. Here are some of the top no-code tools for MVP development:
| Platform | Best For | Key Features |
| Adalo | Mobile-first apps | Drag-and-drop design, iOS/Android publishing |
| Glide | Data-driven apps | Google Sheets integration, real-time updates |
| Thunkable | Cross-platform apps | Live testing, built-in components |
| Bubble | Complex web-based apps | Advanced workflows, API integrations |
If your focus is purely on iOS apps, Adalo or Thunkable are excellent options. They allow you to design, build, and publish apps directly to the App Store.
3. Plan Your App Structure
Sketch a simple flowchart or wireframe for your app. Identify key screens and how users will navigate between them. For example:
Home Screen: Displays your app’s main options.
Feature Screen: Showcases core functionalities (e.g., a booking form or product list).
Settings Screen: Allows users to update preferences.
Planning this structure in advance will save you time and keep your app user-friendly.
4. Design Your App’s Interface
Most no-code platforms come with drag-and-drop builders, making it easy to design your app’s UI. Keep these tips in mind:
Use Pre-Made Templates: Many tools offer templates tailored for specific app types.
Keep It Simple: A clean and intuitive design improves user experience.
Test Responsiveness: Ensure your app looks great on all iOS devices.
If you're new to design, tools like WhatFont can help you identify and use professional fonts for your app.
Check out more Chrome extensions for MVP development to streamline your process.
5. Add Functionality Using Workflows
This is where your app comes to life. Workflows in no-code tools allow you to define how your app behaves. For example:
Set up actions like button clicks to navigate between screens.
Add forms for user input, such as signing up or placing an order.
Use APIs to integrate external services like payment gateways or Google Maps.
Most no-code platforms, like Bubble, also allow you to connect to external tools through APIs, offering endless possibilities for your MVP.
6. Test Your App
Before launching your iOS app MVP, thorough testing is essential. Many no-code platforms provide live testing features, allowing you to simulate how the app will behave on a real device.
Testing Checklist:
Ensure all buttons and links work as expected.
Test forms for data input and validation.
Check how the app looks and functions on different screen sizes.
Gather feedback from a small group of beta testers to identify any bugs or areas for improvement.
7. Publish Your App to the App Store
Once your app is ready, it’s time to submit it to the App Store. Here’s how:
Create a Developer Account: Sign up for an Apple Developer account ($99/year).
Export Your App: Use your no-code platform to generate the necessary files.
Submit Your App: Follow Apple’s submission guidelines, including providing app descriptions, screenshots, and metadata.
Publishing can take a few days as Apple reviews your app, so plan your timeline accordingly.
Why Hire an MVP Development Agency?
While no-code tools are beginner-friendly, you might still prefer expert help. Partnering with an MVP development agency ensures a faster, more professional outcome. Agencies specialize in building MVPs, helping you streamline workflows, design better user interfaces, and launch apps efficiently. This is especially useful for founders juggling multiple responsibilities or working on complex apps.
Benefits of Using No-Code for iOS App MVPs
Using no-code tools to build your MVP offers several advantages:
Faster Time to Market: You can build and launch in weeks instead of months.
Lower Costs: No-code platforms are more affordable than traditional development.
Ease of Iteration: Make changes to your app based on user feedback without needing technical skills.
Integration with Other Tools: Platforms like Zapier or Make simplify workflows and add extra features.
Conclusion
Launching an iOS app MVP with no-code tools is a smart, efficient way to test your idea without breaking the bank. By defining your core features, choosing the right platform, and following a structured approach, you can create a functional app that users love. And if you ever feel stuck, don’t hesitate to hire an MVP development agency for expert assistance. With today’s no-code options, there’s nothing stopping you from turning your idea into a reality.
FAQs
What is the best no-code tool for iOS app MVPs?
Adalo and Thunkable are great options for building iOS app MVPs. Both platforms offer drag-and-drop interfaces and allow you to publish directly to the App Store.
How much does it cost to build an iOS app MVP with no-code?
Most no-code platforms have free plans for basic features, but premium plans can range from $10 to $50 per month. Additionally, an Apple Developer account costs $99/year.
Can I use no-code tools for complex apps?
Yes, platforms like Bubble and Adalo support advanced features like API integrations, making them suitable for complex apps.
Should I hire an MVP development agency for my app?
If your app idea is complex or you lack time, hiring an MVP development agency can save you effort and ensure a polished product.
How long does it take to launch an iOS app MVP with no-code?
Simple MVPs can be built in a few days, while more complex ones may take a few weeks. Testing and App Store review can add a few extra days to the timeline.