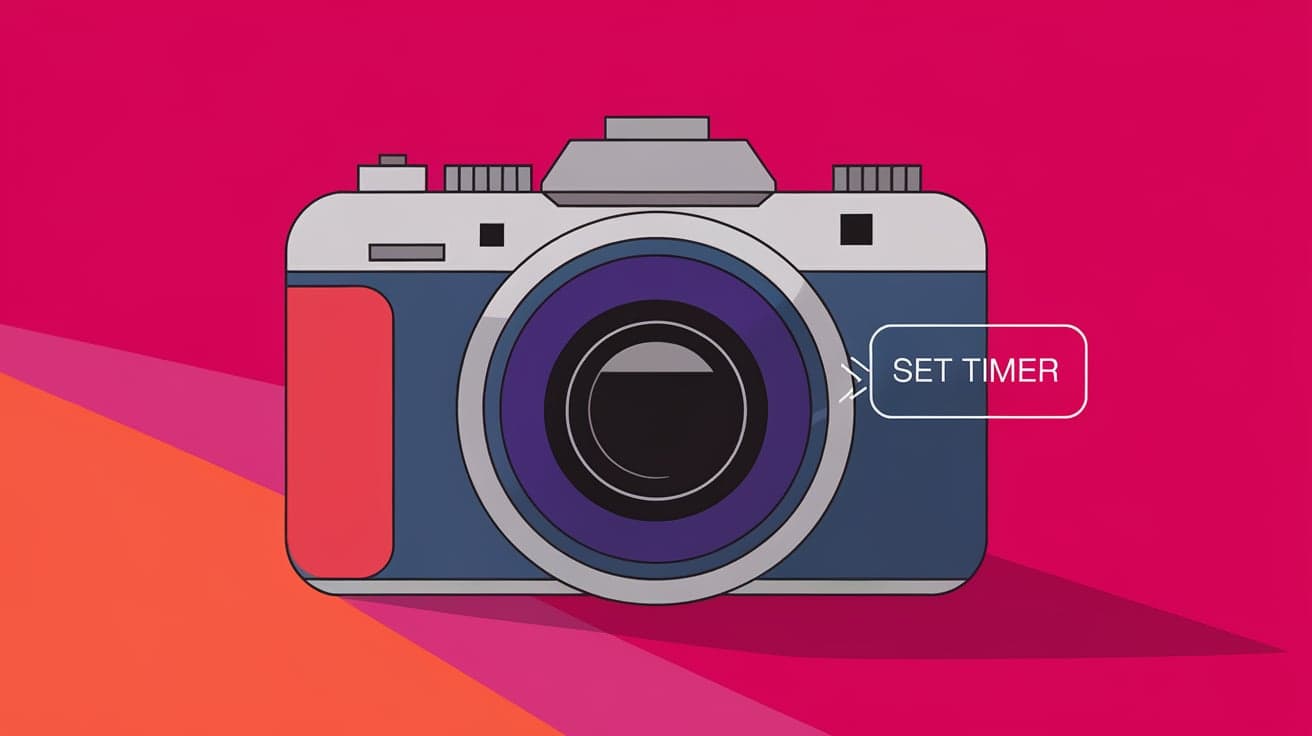
How to Set a Timer on iPhone Camera
Taking photos with your iPhone is super convenient, but what if you want to be in the picture too? That’s where the camera timer comes in handy. Whether you’re taking group photos, selfies, or artistic shots, the timer helps you set up your perfect frame without rushing. If you’re not sure how to use this feature or haven’t tried it yet, don’t worry—I’ll guide you step by step.
By the end of this guide, you’ll be ready to capture hands-free photos like a pro.
Why Use the Timer on iPhone Camera?
The timer feature on your iPhone’s camera is more than just a cool trick. Here’s why you should consider using it:
Include Yourself: Perfect for group photos or solo shots when no one is around to click for you.
Steady Shots: Avoid shaky photos by using a tripod or stable surface while the timer does the work.
Creative Control: Gives you time to adjust your pose, lighting, or background before the photo is taken.
Now that you see the benefits, let’s move on to the steps.
1. How to Access the Timer on iPhone Camera
Setting up the timer is quick and easy, but first, you need to know where to find it.
Steps to Access the Timer:
Open the Camera App:
- Launch the Camera app on your iPhone.
Switch to Photo Mode:
- Make sure you’re in Photo mode (the default option for most pictures).
Find the Timer Icon:
Tap the arrow at the top of the screen (or swipe up if you’re using an older iPhone) to reveal additional options.
Look for the timer icon, which looks like a clock.
That’s it! You’re now ready to set the timer duration.
2. How to Set the Timer Duration
Your iPhone gives you two timer options—3 seconds and 10 seconds. Choose the one that works best for your shot.
Steps to Set the Timer:
Select the Timer Icon:
- Tap the timer icon after revealing the extra options.
Choose a Timer Length:
- Select 3 seconds for quick shots or 10 seconds if you need more time to get into position.
Confirm Your Selection:
- Once you choose a duration, the timer icon will change color, indicating it’s active.
Now, every time you press the shutter button, the timer will start counting down.
3. Position Your iPhone for the Best Shot
With the timer set, the next step is to position your iPhone for a great photo. You can use a tripod, stand, or any stable surface.
Tips for Positioning:
Use a Tripod: For the best results, use an iPhone tripod to keep your phone steady.
Find a Stable Surface: If you don’t have a tripod, place your phone on a table, shelf, or stack of books.
Frame Your Shot: Adjust the angle, lighting, and focus before starting the timer.
Positioning your iPhone correctly ensures a clear, well-composed photo.
4. Take the Photo with the Timer
Now that everything is set up, it’s time to take the picture.
Steps to Take the Photo:
Press the Shutter Button:
- Tap the shutter button (the circular button on the screen). The timer will start counting down.
Get Ready:
- Use the countdown to adjust your pose or make last-minute tweaks.
Watch the Flash:
- Your iPhone’s flash (even in daylight) will blink to signal the countdown. The photo will snap when the blinking stops.
You’ve successfully taken a hands-free photo with the timer!
5. Use the Timer for Burst Mode Photos
For action shots or finding the perfect pose, your iPhone can take multiple photos in quick succession using Burst Mode.
How to Enable Burst Mode with the Timer:
Set the Timer:
- Follow the same steps to activate the timer.
Take the Photo:
- Press the shutter button and wait for the countdown.
Review Burst Photos:
After the shot, open the Photos app and tap the burst photo set.
Select Edit and choose your favorite shots to keep.
Burst Mode is excellent for capturing moments when everyone isn’t perfectly still.
6. Enhance Your Timer Photos with Editing
Once you’ve taken your photo, you can make it even better with the built-in editing tools on your iPhone.
Editing Tips:
Open the Photo:
- Go to the Photos app and select the picture you want to edit.
Tap Edit:
- Use tools like crop, brightness, and filters to enhance the image.
Save the Changes:
- Once satisfied, tap Done to save your edited photo.
With these tools, you can turn a good photo into a great one.
7. Creative Uses for the Camera Timer
The timer feature isn’t just for basic photos. Here are some creative ways to use it:
Group Shots:
- Set your phone on a tripod during family gatherings or parties to capture everyone in the frame.
Solo Photography:
- Take hands-free selfies or full-body shots when you’re alone.
Action Shots:
- Use Burst Mode with the timer to capture jumping, running, or other movements.
Night Shots:
- Combine the timer with a tripod to take stable low-light photos without any camera shake.
The possibilities are endless when you get creative with the timer.
Conclusion
Setting a timer on your iPhone camera is a simple but powerful feature that can transform your photography. Whether you’re capturing a family photo, snapping a selfie, or experimenting with creative shots, the timer gives you the freedom to step into the frame and get the perfect picture. With options like Burst Mode and editing tools, you can take your photos to the next level.
Now that you know how to use the timer, grab your iPhone and start experimenting. You’ll be amazed at the results you can achieve with just a little practice!
FAQs
How do I access the timer on older iPhones?
On older iPhones, swipe up in the Camera app to reveal additional options, including the timer icon.
Can I use the timer in video mode?
No, the timer is only available for photo modes, not for videos. You’ll need to press record manually for videos.
Does the timer work with portrait mode?
Yes, the timer works perfectly in Portrait Mode, allowing you to take stunning photos with a blurred background.
Can I use the timer with live photos?
Yes, you can use the timer with Live Photos, capturing a short animation along with your picture.
Why can’t I find the timer icon?
If you don’t see the timer icon, make sure your Camera app is updated and your phone is in Photo mode, not Video or Panorama mode.
Also read -