How to See Northern Lights with iPhone
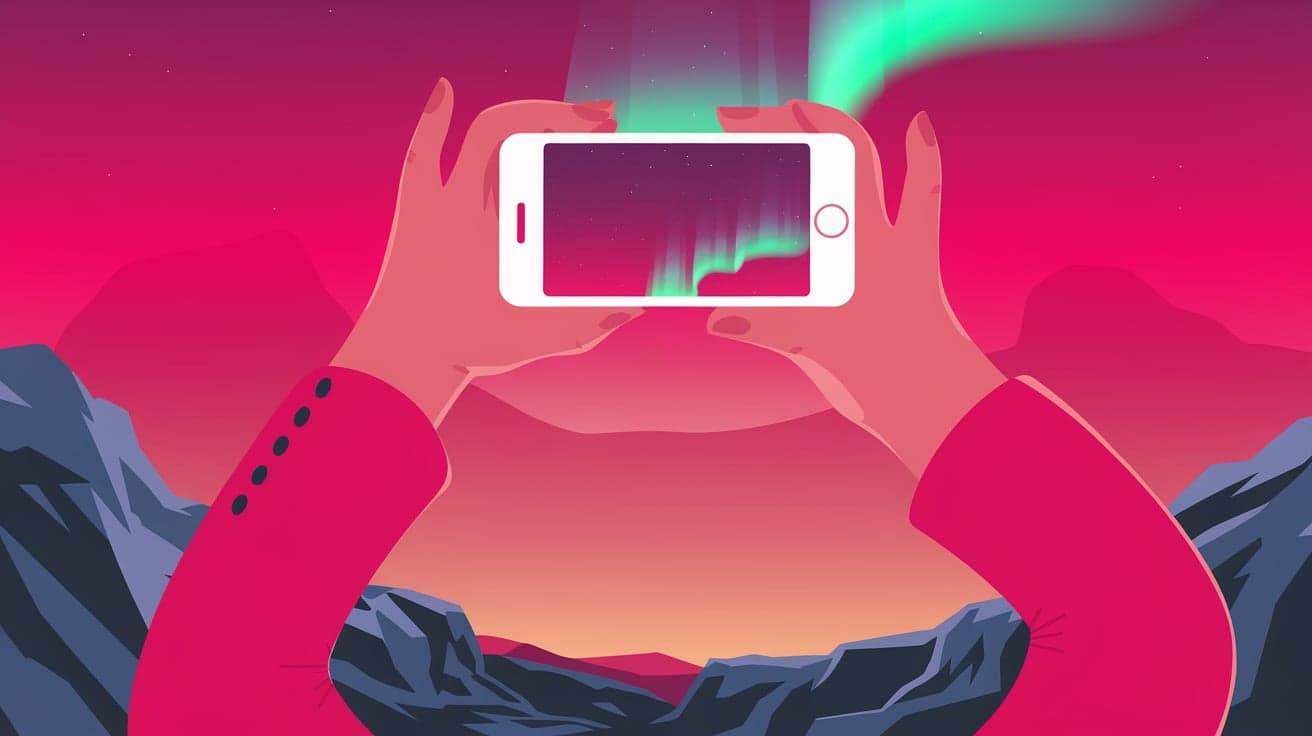
The Northern Lights, or Aurora Borealis, are one of the most stunning natural phenomena you can experience. Seeing them is magical, but capturing their beauty can feel just as rewarding. With your iPhone, you don’t need expensive camera gear to record this breathtaking display. Modern iPhones are equipped with advanced cameras and features like Night mode, making it possible to photograph and even observe the Northern Lights with clarity.
In this guide, I’ll show you how to use your iPhone to see and capture the Northern Lights effectively. From camera settings to practical tips, you’ll learn everything you need to turn your iPhone into the perfect aurora-viewing companion.
What Makes the Northern Lights Special?
The Northern Lights are caused by solar particles colliding with Earth’s atmosphere, creating colorful displays in the night sky. They’re most visible in areas close to the Arctic Circle, such as Norway, Iceland, Canada, and Alaska. The vibrant greens, pinks, and purples of the aurora are mesmerizing, but they can be faint to the naked eye under certain conditions.
Your iPhone’s camera can enhance what you see by capturing more light than your eyes can, letting you fully appreciate the colors and patterns of the Northern Lights.
Preparing to See the Northern Lights with Your iPhone
Choose the Right Location and Time
To see the Northern Lights, you need clear, dark skies away from city lights. Look for locations with minimal light pollution. Apps like Aurora Forecast can help you predict when and where the aurora will appear.
The best time to see the Northern Lights is during winter, from late September to early April, when the nights are longer.
Check the Weather
Cloudy skies can block your view of the aurora. Use weather apps like AccuWeather to ensure the forecast is clear for your chosen night. Cold conditions are common in aurora-viewing locations, so dress warmly to stay comfortable.
Bring Essential Gear
While your iPhone is your primary tool, having the following gear can enhance your experience:
A tripod: Keeps your iPhone steady for long exposure shots.
A power bank: Cold weather drains your battery faster, so bring a backup.
Gloves with touchscreen capability to operate your iPhone in the cold.
How to Adjust iPhone Settings for the Northern Lights
Capturing the Northern Lights requires tweaking your iPhone settings to optimize for low-light conditions. Here’s how to set up your camera:
Enable Night Mode
Night mode activates automatically on iPhones with this feature (iPhone 11 and newer). It extends exposure time to let in more light, perfect for capturing the aurora.
Open the Camera app.
Point your iPhone at the sky and wait for the Night mode icon (a moon symbol) to appear.
Adjust the exposure time by tapping the Night mode icon and dragging the slider to the maximum (10 seconds or more).
Use Manual Focus
Your iPhone may struggle to focus on the distant aurora. To fix this:
Tap and hold on your screen where the lights appear to lock focus.
Adjust the exposure by sliding your finger up or down.
Turn Off Flash
Flash can ruin your shot and disturb others around you. Ensure it’s disabled by tapping the lightning bolt icon and selecting Off.
Tips for Capturing Stunning Northern Lights Photos
Use a Tripod for Stability Long exposures require a steady camera. Mount your iPhone on a tripod to prevent blurry images caused by hand movements.
Shoot in ProRAW or HDR If your iPhone supports ProRAW or HDR mode, enable it for better color accuracy and detail. ProRAW allows for more advanced editing later.
Experiment with Exposure If Night mode doesn’t fully capture the aurora’s colors, use a third-party app like ProCamera to manually adjust the exposure and ISO settings.
Avoid Artificial Light Keep your surroundings dark. Turn off any nearby lights and reduce your iPhone screen’s brightness to prevent reflections.
Take Multiple Shots The aurora changes constantly. Capture a series of photos to increase your chances of getting the perfect shot.
Viewing the Northern Lights in Real-Time on iPhone
While iPhones excel at capturing the aurora, seeing it in real-time can be challenging due to low light. Apps like Northern Lights Photo Taker enhance your camera’s live view, making the lights more visible as they appear. These apps amplify dim light and adjust the display to reveal the aurora’s colors on your screen.
Editing Northern Lights Photos on iPhone
Enhance your photos after capturing them to bring out the aurora’s vivid colors. Here’s how to do it:
Use the Built-in Photos App
Open the photo in the Photos app.
Tap Edit and adjust:
Exposure: Brighten the image without losing detail.
Contrast: Highlight the difference between the lights and the sky.
Saturation: Make the aurora colors pop.
Tap Done to save your edits.
Use Third-Party Editing Apps
Apps like Lightroom Mobile or Snapseed offer advanced tools for fine-tuning your photos. With these apps, you can adjust curves, remove noise, and sharpen details for a professional look.
Troubleshooting Common Issues
Problem: Photos Appear Blurry
- Solution: Ensure your iPhone is mounted on a tripod and avoid touching it during long exposures.
Problem: Aurora Colors Are Faint
- Solution: Increase exposure time or edit the image to enhance saturation and contrast.
Problem: Battery Drains Quickly
- Solution: Reduce your iPhone’s brightness and close background apps. Use a power bank for extended sessions.
Conclusion
Seeing the Northern Lights with your iPhone is an unforgettable experience. With the right settings, a steady tripod, and a little practice, you can capture stunning photos of this natural wonder. From using Night mode to editing your shots, your iPhone has all the tools you need to preserve the beauty of the aurora.
Remember, the key to success is preparation. Check aurora forecasts, pick a dark location, and adjust your iPhone settings before heading out. With these tips, you’ll not only see the Northern Lights but also share their magic with others.
FAQs
Can I take photos of the Northern Lights with any iPhone?
Yes, but models with Night mode (iPhone 11 and newer) are better suited for capturing the Northern Lights due to their advanced low-light capabilities.
Do I need a special app to capture the Northern Lights?
While the built-in Camera app is sufficient, third-party apps like ProCamera offer manual controls for exposure and ISO, which can improve your results.
Why do my Northern Lights photos look blurry?
Blurriness is often caused by hand movement during long exposures. Use a tripod to keep your iPhone steady.
How do I make the aurora colors brighter in my photos?
Increase the exposure time in Night mode and enhance the colors using editing tools like Lightroom Mobile or the iPhone’s Photos app.
Is it possible to see the Northern Lights live on my iPhone screen?
Yes, apps like Northern Lights Photo Taker can amplify dim light, making the aurora more visible in real-time.
Also read -