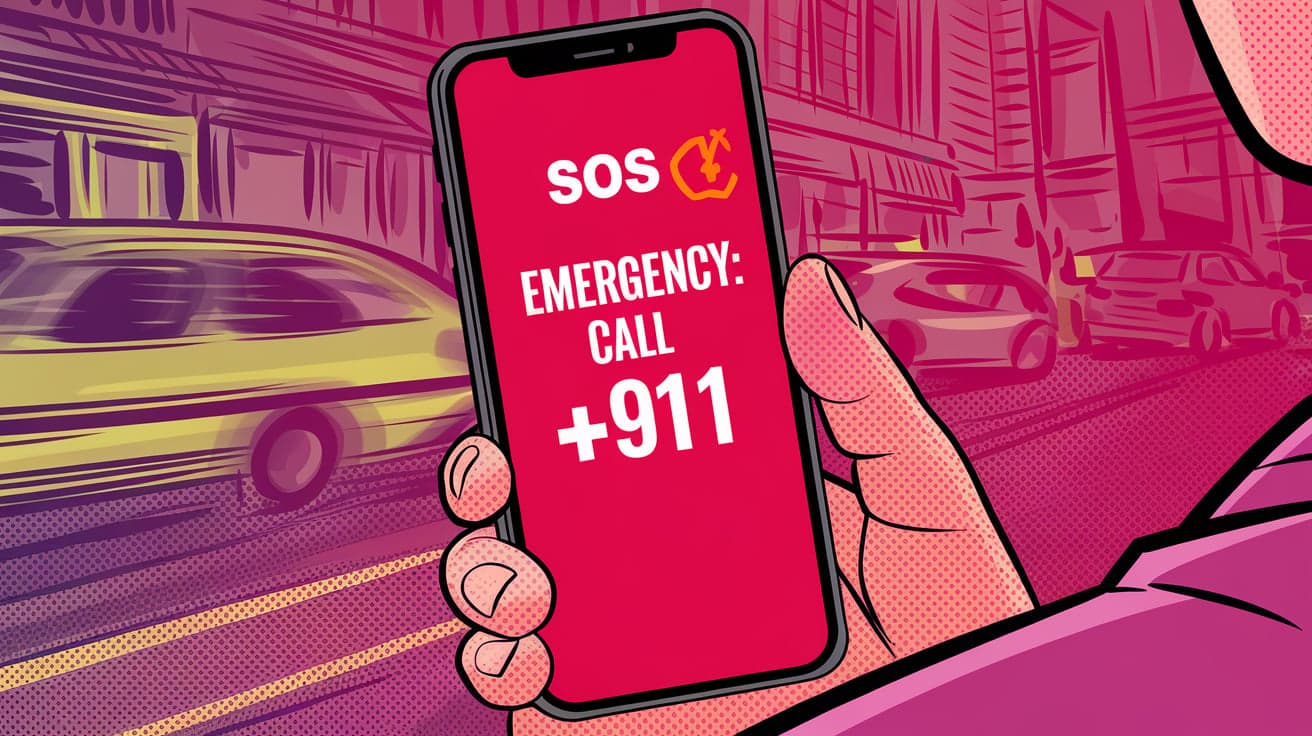
Easy Steps to Fix iPhone Stuck in SOS Mode

Seeing your iPhone stuck in SOS mode can be frustrating. When your device displays "SOS" or "SOS Only," it means you can only make emergency calls. This happens when your iPhone loses connection to your carrier’s network or encounters a software issue. Luckily, there are simple steps you can take to resolve the problem and get your phone back to normal.
In this guide, I’ll walk you through everything you need to know about fixing SOS mode on your iPhone. Whether it’s a network issue or a settings problem, these solutions will help you regain full functionality.
What Does SOS Mode on iPhone Mean?
SOS mode appears when your iPhone can’t connect to your carrier’s network for regular calls, texts, or data. Instead, it limits functionality to emergency services only. Common reasons include:
Weak or no signal in your area.
Issues with your SIM card.
Software glitches or bugs.
Now, let’s explore the steps to resolve this issue.
Step 1: Check Your Network Coverage
The first thing to check is whether you’re in an area with good network coverage. Poor signal strength is a common reason for SOS mode.
What to Do:
Move to an open area where you know your carrier’s signal is strong.
Check if other devices on the same network have service.
Restart your iPhone and see if it reconnects to the network.
If coverage isn’t the issue, continue to the next step.
Step 2: Toggle Airplane Mode On and Off
Airplane mode refreshes your phone’s connection to the network, which can often fix the SOS problem.
Steps to Toggle Airplane Mode:
Open the Control Center by swiping down from the top-right corner (or up from the bottom on older models).
Tap the airplane icon to enable Airplane Mode.
Wait 10 seconds, then tap the airplane icon again to turn it off.
Your iPhone will attempt to reconnect to the network once Airplane Mode is turned off.
Step 3: Restart Your iPhone
Restarting your iPhone can fix minor software glitches that may cause SOS mode.
How to Restart:
For iPhones with Face ID:
- Press and hold the Side Button and either Volume Button until the power slider appears.
For iPhones with a Home Button:
- Press and hold the Power Button until the power slider appears.
Drag the slider to turn off your phone.
Wait 30 seconds, then press the Power Button again to turn it back on.
After restarting, check if the SOS mode disappears.
Step 4: Check Your SIM Card
A faulty or improperly placed SIM card can also trigger SOS mode.
How to Inspect the SIM Card:
Locate the SIM card tray on the side of your iPhone.
Use a SIM ejector tool or a paperclip to remove the tray.
Inspect the SIM card for physical damage or dirt.
Reinsert the SIM card securely and close the tray.
If you suspect the SIM card is damaged, contact your carrier for a replacement.
Step 5: Update Carrier Settings
Outdated carrier settings can prevent your iPhone from connecting to the network.
Steps to Update Carrier Settings:
Open Settings on your iPhone.
Tap General, then About.
If a carrier settings update is available, you’ll see a prompt to install it. Tap Update.
Updating carrier settings ensures your iPhone is configured correctly for your network.
Step 6: Reset Network Settings
If the issue persists, resetting your network settings can help. This will erase saved Wi-Fi passwords and network configurations but won’t affect your data.
How to Reset Network Settings:
Open Settings > General > Transfer or Reset iPhone.
Tap Reset, then select Reset Network Settings.
Enter your passcode if prompted and confirm the reset.
Once the reset is complete, reconnect to your Wi-Fi network and check your cellular connection.
Step 7: Update Your iPhone’s Software
A software glitch may be causing your iPhone to stay in SOS mode. Updating to the latest version of iOS can resolve this.
How to Update iOS:
Open Settings > General > Software Update.
If an update is available, tap Download and Install.
Follow the on-screen instructions to complete the update.
Make sure your iPhone is connected to Wi-Fi and has at least 50% battery life before updating.
Step 8: Contact Your Carrier
If none of the steps above work, the issue may be on your carrier’s end.
How to Contact Your Carrier:
Call your carrier’s support line from another phone or visit their website for assistance.
Explain the issue and ask if there are network outages in your area.
Request a SIM card replacement if necessary.
Carriers can reset your connection or provide additional troubleshooting steps.
Step 9: Visit an Apple Store or Authorized Repair Center
If the problem persists after trying all the steps, it could be a hardware issue. Visiting an Apple Store or authorized repair center is your best option.
What to Bring:
Your iPhone.
Proof of purchase (if required).
A backup of your data (just in case repairs require erasing it).
Apple technicians can diagnose and fix hardware problems that may be causing SOS mode.
Conclusion
Getting your iPhone out of SOS mode doesn’t have to be stressful. By following these steps—checking network coverage, toggling Airplane Mode, inspecting the SIM card, and updating your settings—you can resolve most issues quickly. If the problem persists, your carrier or an Apple Store can provide further assistance.
With this guide, you’ll have your iPhone back to normal in no time. Try these solutions, and let us know which one worked for you!
FAQs
What does SOS mode mean on iPhone?
SOS mode means your iPhone can only make emergency calls because it’s not connected to your carrier’s network.
Why is my iPhone stuck in SOS mode?
This can happen due to poor network coverage, a faulty SIM card, outdated carrier settings, or software glitches.
Can I get out of SOS mode without a SIM card?
No, a working SIM card is required for your iPhone to connect to your carrier’s network and exit SOS mode.
Will resetting network settings fix SOS mode?
Resetting network settings often resolves SOS mode by clearing misconfigured settings. It’s a good step to try if other methods don’t work.
When should I visit an Apple Store for SOS issues?
If all troubleshooting steps fail and your iPhone remains in SOS mode, visit an Apple Store or authorized repair center to check for hardware problems.
Also read -